Setting up Health Check Tutorial
This tutorial will teach you how to apply a health check configuration to a server. A health check configuration can only be applied to a server that is a part of a load balancing or failover group. Before following the instructions in this tutorial, please make sure that you have created either a load balancing or failover group for:
- Address records (i.e., A or AAAA) for a primary zone hosted on our Route solution.
- A CNAME record for a primary zone hosted on another DNS service provider.
- A subdomain for a primary zone hosted on another DNS service provider.
Create a health check by performing the following steps:
- Modify a load balancing group.
- Modify a server's configuration.
- Add a health check configuration.
- Save a load balancing group.
- Configure a firewall to allow health check agent access.
Step 1: Modify a Load Balancing Group
This tutorial leverages a previously created load balancing group.
Click on the previously created load balancing group from the Route (DNS) page.
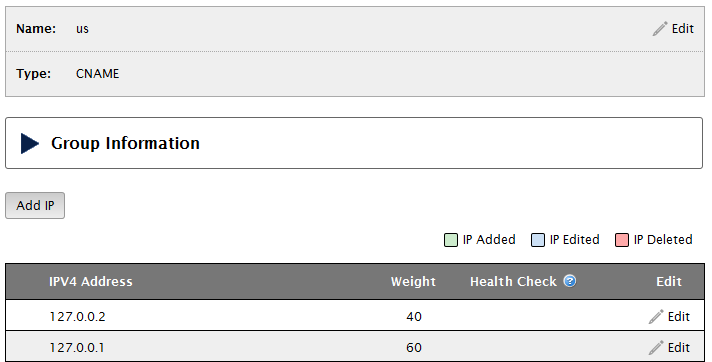
This load balancing group contains two IP addresses as illustrated below.

Step 2: Modify a Server's Configuration
A health check configuration is specific to a single server. The option to create a health check configuration becomes available upon editing a server's configuration.
Click Edit next to the desired IP address.

Step 3: Add a Health Check Configuration
The Health Check column provides an option to add a health check configuration, since one has not yet been defined for this IP address.
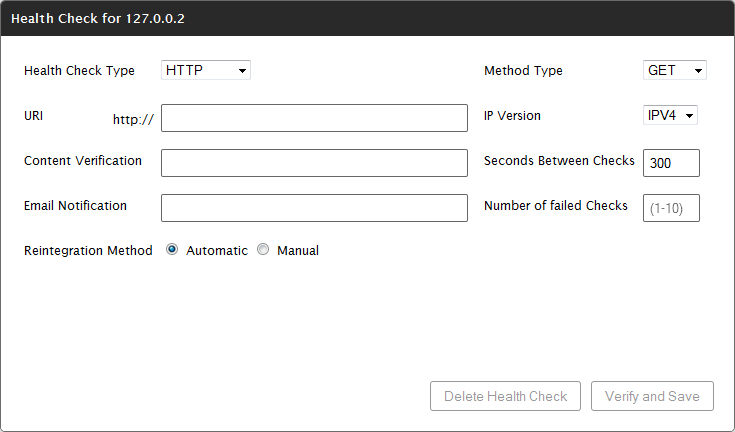
Click Add HC to display a blank health check configuration.

We will now define how a server will be polled when assessing server health status. This tutorial assumes that you would like to query a web server.
In the Health Check Type option, verify that "HTTP" is selected.
In the Method Type option, verify that "GET" is selected.
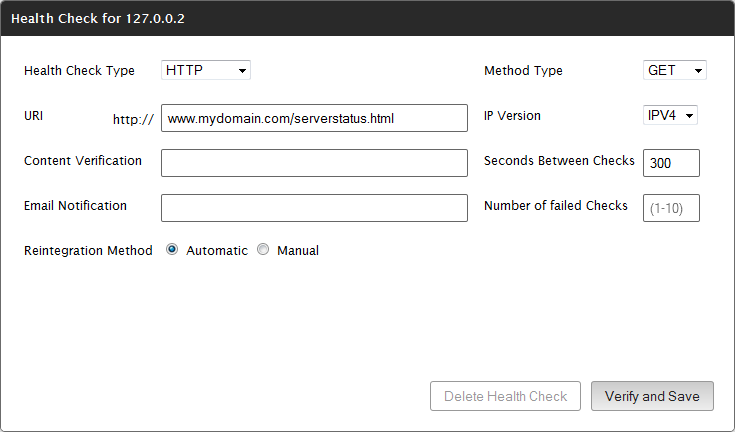
In the URI option, define a URI that requests content from the server for which a health check configuration is being created.
In the IP Version option, verify that "IPv4" is selected.
The Health Check dialog box should now look similar to the following illustration.

Optional. In the Content Verification option, define a word or phrase that must be included in the response header or body in order for the health check to pass.
By default, our health check agents will indicate that the server has passed health check if they receive a 200 OK response for a GET request to the specified URI. Additionally, they may be required to verify that the response header or body contains a specific word or phrase.
Set the Seconds Between Checks to 100.
This option defines how often health check agents will send a GET request to the specified URI.
Set the Number of failed Checks option to 3.
This option defines how many times an individual health check agent must produce the same result (i.e., Pass/Fail) before it can report a change in server status.
As a result of the above configuration, our health check agents can report a change in server status around 300 seconds after it starts passing or failing health checks.
Set the Email Notification option to your email address.
An email will be sent whenever there is a change in the health state of the server associated with this health check configuration.
Set the Reintegration Method option to Automatic.
This option determines whether our health check agents can resume serving traffic to a server that has recovered from a failed health check state.
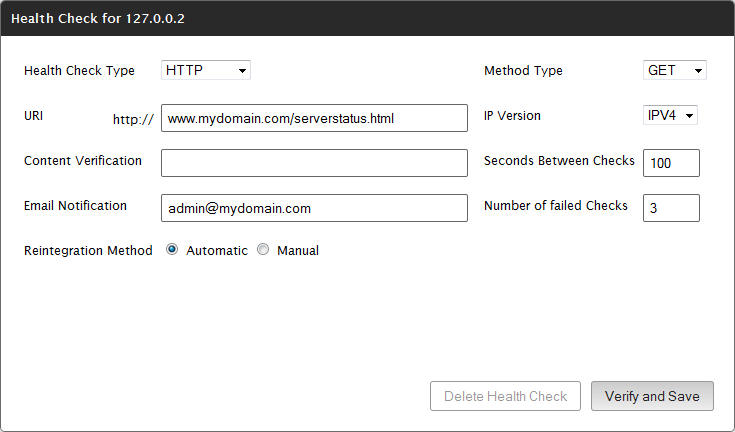
Verify that the health check configuration looks similar to the following illustration.

Click Verify and Save.
Create a health check configuration for the other IP address in the load balancing group.
Verify that the load balancing group looks similar to the following illustration.

Notice that the health check column displays the Unknown status icon (![]() ) for each IP address. This is to be expected, since your health check configurations have not been committed. The Unknown status icon will be displayed until our health check agents make an assessment on your server.
) for each IP address. This is to be expected, since your health check configurations have not been committed. The Unknown status icon will be displayed until our health check agents make an assessment on your server.
Step 4: Save a Load Balancing Group.
Commit your health check configurations and save your changes to the load balancing group.
Click Submit Group.
Step 5: Configure a Firewall to Allow Health Check Agent Access.
Our health check agents must be able to communicate with each server defined in step 3. Configure the relevant firewall(s) to allow health check agents to communicate with those servers.